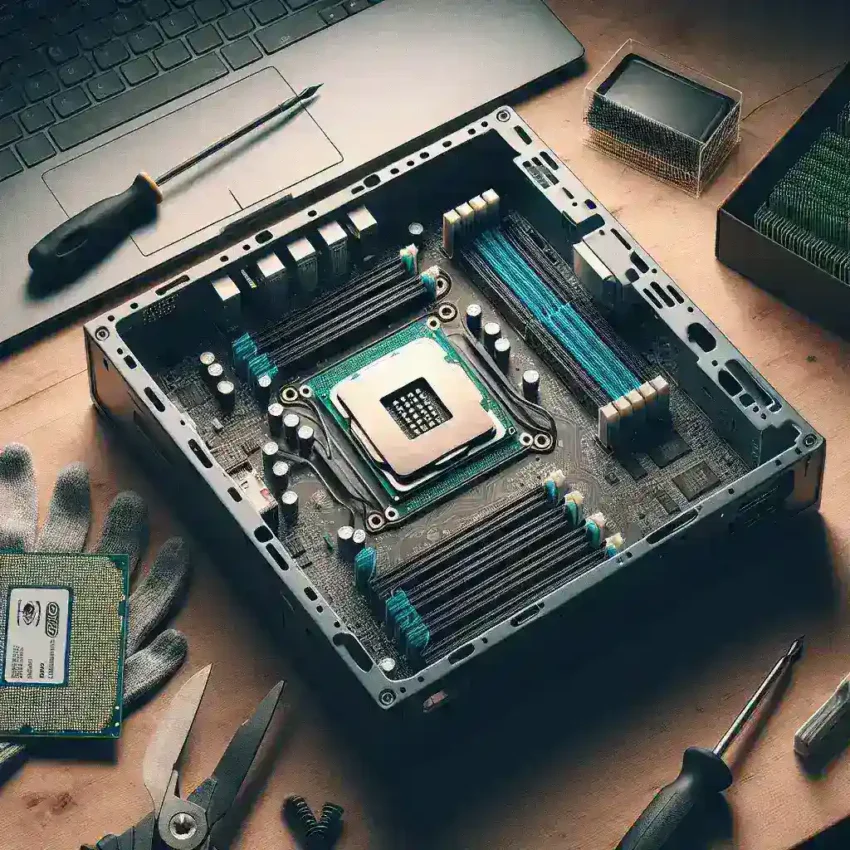
Upgrading a processor (CPU) is a straightforward way to improve your computer’s performance. Whether you’re a gamer, a professional video editor, or just looking to enhance your computing experience, a new CPU can make a significant difference. However, the process requires careful planning and execution to ensure compatibility and functionality. In this article, we will guide you through the essential steps of upgrading a processor.
Understanding Your Current System
Before upgrading your CPU, it’s crucial to understand the specifications and limitations of your current system. Start by checking your motherboard’s compatibility with newer processors. The motherboard’s socket type and chipset will determine which CPUs it can support.
System Assessment Table
| Component | Specification |
|---|---|
| Motherboard | Model and Socket Type |
| Current CPU | Model and Specifications |
| Power Supply | Wattage and Efficiency |
| RAM | Type and Capacity |
Check Compatibility
After gathering your system information, verify the compatibility of your selected CPU with your motherboard. Visit the motherboard manufacturer’s website to find a list of supported CPUs. Ensure the BIOS version of your motherboard supports the new CPU, as an update may be necessary.
Backup Your System
Although upgrading a processor shouldn’t affect your data, there’s always a risk of losing files during hardware changes. Make sure to back up all important data to an external storage device or cloud storage service.
Tools Required
- Anti-static wrist strap
- Phillips-head screwdriver
- Thermal paste
- Isopropyl alcohol and a lint-free cloth
Step-by-Step Installation Guide
1. Power Down and Unplug
Ensure your computer is completely powered down and unplugged from any power sources. Remove all peripheral devices connected to the computer.
2. Open the Case
Use the Phillips-head screwdriver to remove the screws from the side panel of your case. Carefully open the case to access the motherboard.
3. Ground Yourself
To avoid damaging sensitive components with static electricity, wear an anti-static wrist strap or regularly touch a metal part of the case to discharge static buildup.
4. Remove the Old Processor
Locate the CPU socket on your motherboard. Unlock the socket lever and gently lift it. Carefully remove the old CPU from the socket and set it aside.
5. Clean the Socket and Heat Sink
Use isopropyl alcohol and a lint-free cloth to clean the CPU socket and heat sink. Remove any old thermal paste residues to ensure a clean surface for the new CPU.
6. Install the New Processor
Align the new CPU with the socket, ensuring the notches match. Gently place the new CPU into the socket without applying force. Lower the socket lever to lock the CPU in place.
7. Apply Thermal Paste
Apply a small amount of thermal paste (about the size of a pea) to the center of the CPU. This helps in transferring heat from the CPU to the heat sink effectively.
8. Reattach the Heat Sink
Position the heat sink over the CPU and secure it using the appropriate method (screws or clips). Ensure it is firmly in place for effective cooling.
9. Close the Case
Close the computer case and secure it with screws. Reconnect all peripherals and power sources.
Post-Upgrade Steps
10. Power On and Enter BIOS
Power on your computer and enter the BIOS setup. Ensure that the new CPU is correctly recognized by the system. Check for any BIOS updates if necessary.
11. Monitor System Performance
After booting into the operating system, monitor your system’s performance and temperature to ensure everything is functioning correctly. Use tools like CPU-Z and HWMonitor to check the CPU details and temperatures.
Troubleshooting Common Issues
If your computer doesn’t boot or shows errors after installing the new CPU, recheck all connections, and verify the CPU’s compatibility. Ensure the BIOS is up to date and try reseating the CPU and heat sink.
Upgrading your processor can breathe new life into your computer, providing faster performance and better efficiency. By following these steps and taking necessary precautions, you can successfully upgrade your CPU and enjoy an enhanced computing experience.

