Introduction
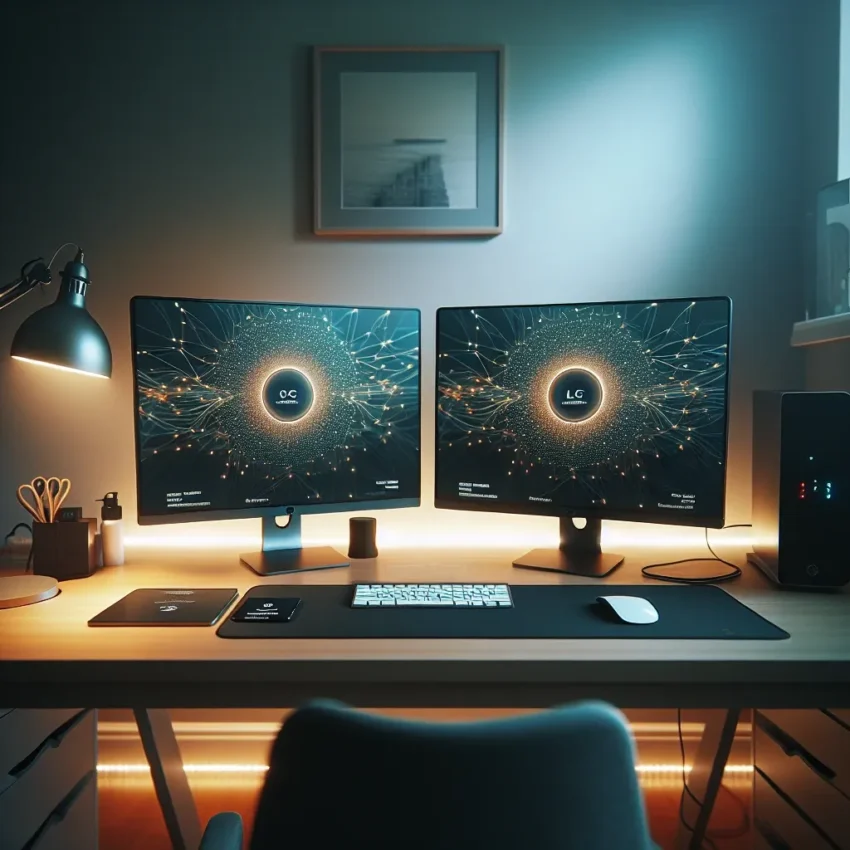
Setting up an LED monitor for dual-screen use can significantly improve your productivity and provide a more immersive computing experience. Whether you’re a professional, gamer, or simply someone who enjoys extra screen real estate, having a dual-monitor setup can make a substantial difference. This guide will walk you through the process of setting up your LED monitor for dual-screen use effectively.
Requirements for a Dual-Screen Setup
Before diving into the setup process, ensure you meet the following requirements:
- Two LED monitors
- Compatible computer with dual-output graphics card
- Required cables (HDMI, DisplayPort, VGA, etc.)
- Adjustable monitor stands or mounts (optional)
- Updated display drivers
Step-by-Step Setup Guide
Step 1: Check Your Hardware
Begin by examining your current hardware to ensure compatibility. Check your computer’s graphics card and outputs. Most modern computers support dual-monitor configurations, but it’s always best to verify.
Step 2: Connect the Monitors
Use appropriate cables to connect your LED monitors to the computer. You may need:
- HDMI: High-quality video and audio transmission
- DisplayPort: Superior video and audio, ideal for high resolutions
- VGA: Older technology, adequate for simple setups
Plug one end into the computer’s graphics card and the other into the monitor’s input port. Ensure a snug fit to avoid signal issues.
Step 3: Configure Display Settings
Once connected, you must configure the display settings on your computer. Follow these steps for different operating systems:
Windows:
- Right-click on the desktop and select Display settings.
- Identify your screens by clicking Identify.
- Choose the primary display by selecting the monitor and clicking Make this my main display.
- Drag and drop to rearrange the monitors as per your preference.
- Adjust the resolution and orientation under Scale and layout.
- Click Apply to save changes.
Mac:
- Click the Apple menu and select System Preferences.
- Go to Displays.
- Click the Arrangement tab.
- Drag the displays to arrange them as desired.
- Drag the menu bar to the monitor you want as the primary display.
- Adjust resolution and other settings as needed.
Step 4: Fine-Tune Your Workspace
Ergonomics play a crucial role in ensuring a comfortable and productive dual-monitor setup. Adjust the height, tilt, and distance of your monitors to reduce eye strain and improve posture. Use monitor stands or mounts for better positioning.
Step 5: Optimize Software and Applications
Take advantage of software and settings to maximize the benefits of your dual-screen setup:
- Taskbar Management: Customize how the taskbar appears across monitors in Windows by right-clicking the taskbar, selecting Taskbar settings, and adjusting Multiple displays.
- Window Management: Use built-in features like Windows Snap or third-party software to organize open windows efficiently.
- Dual-Screen Backgrounds: Personalize your setup by using different or panoramic backgrounds on each screen.
Common Troubleshooting Tips
If you encounter issues during the setup, consider these common troubleshooting tips:
- Check cable connections for secure attachment.
- Restart your computer to refresh connections.
- Update or reinstall display drivers.
- Verify that both monitors are powered on and set to the correct input source.
- Consult your graphics card manual for specific setup instructions.
Benefits of a Dual-Monitor Setup
| Benefit | Description |
|---|---|
| Increased Productivity | Allows multitasking and simultaneous use of multiple applications. |
| Enhanced Gaming Experience | Provides a broader field of view and immersive gameplay. |
| Improved Workflow | Streamlines tasks, reducing the need to switch between tabs and windows. |
| Better Organization | Keeps work and personal activities separate on different screens. |
Final Thoughts
A dual-monitor setup can revolutionize your computing experience, offering more screen space and improving your efficiency. By following this guide, you can seamlessly set up your LED monitors for dual-screen use. Take the time to fine-tune the arrangement for optimal comfort and performance. Enjoy your enhanced workspace!

